Help
A. Form Creation and Editing
I. Create and Edit form
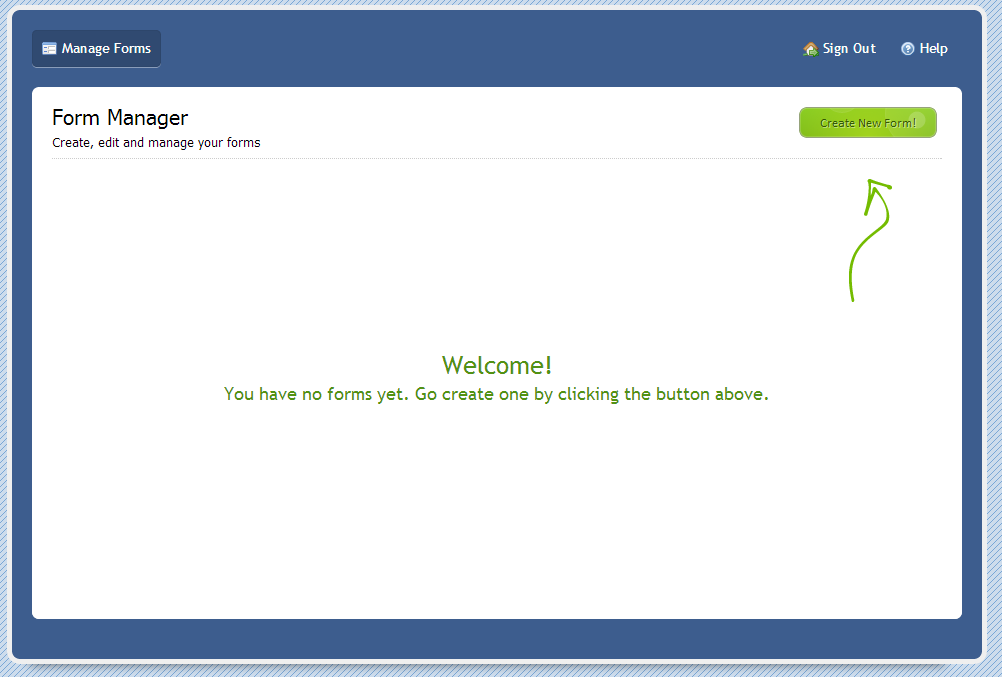
After login to the CU WebForm Admin panel,
1. You can create new form by clicking "Create New Form!" to start form editing
2. you can select and edit any preexisting forms by clicking 'Edit' tab

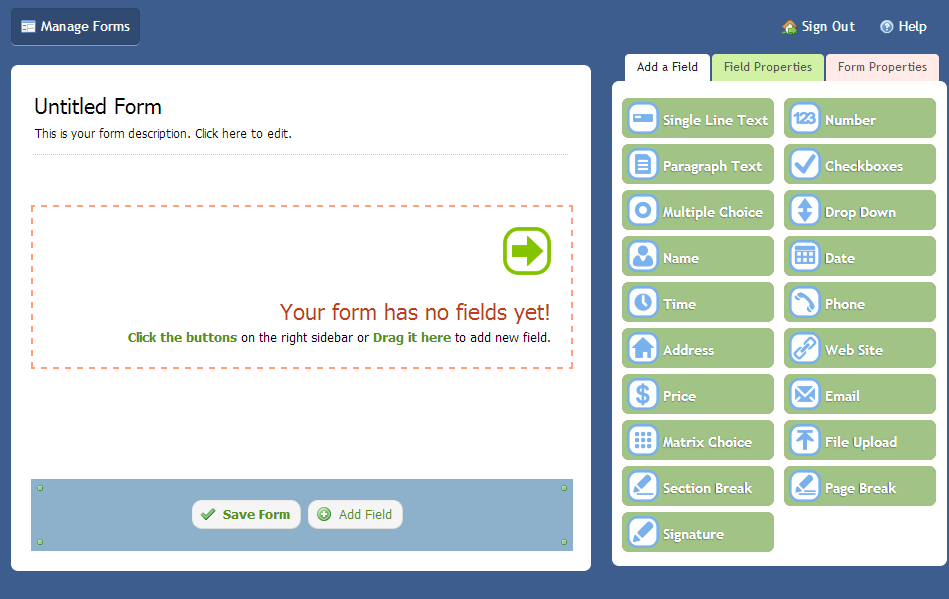
You will see the following form editing page.
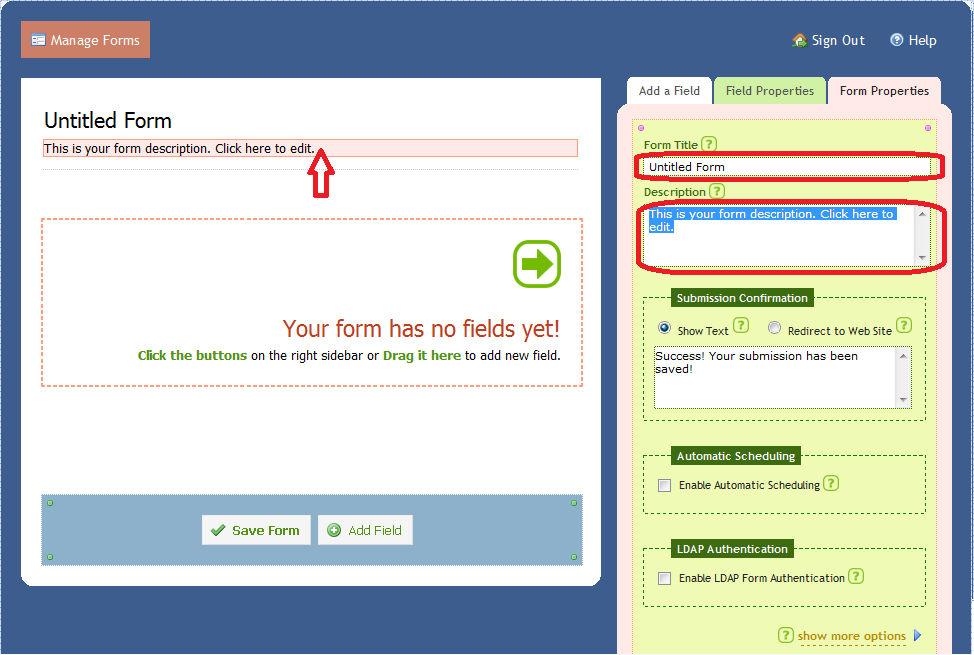
3. Form title and description
Begin your form by editing form title and description.
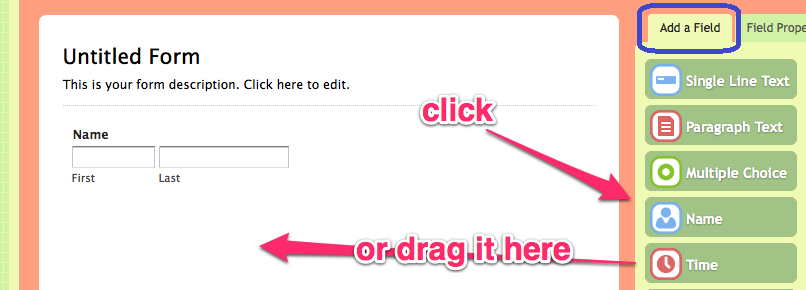
4. Add a field and edit its properties
Design your form by selecting from the fields on the right. Click on the field buttons on the right side of the form builder or drag the button into the preview pane to add and then edit the properties.
Once you have added all the fields you need, you can click the field on the preview pane to change its properties.
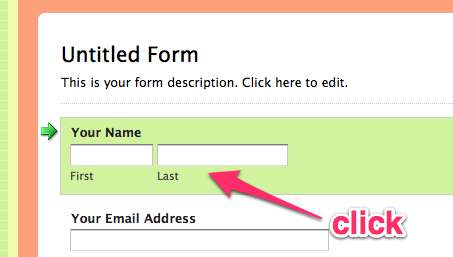
The properties tab will be displayed on the right section of the form builder. Change the label for each of your fields.

5. Reordering, duplicating and deleting fields
Reordering field:
To reorder/move a field to any position on your form, simply click and hold on the area surrounding the field, and drag it up or down to the desired position.
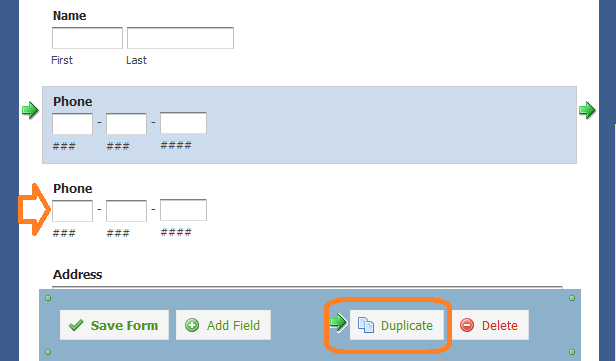
Duplicating field:
Click on a field to make it the active field. Pressing "Duplicate" button at the bottom of the form will create an exact copy of the field directly underneath it.
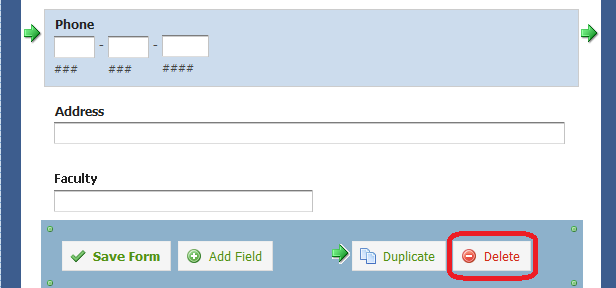
Deleting field:
Click on a field to make it the active field. Pressing "Delete" button at the bottom of the form will delete the selected field.
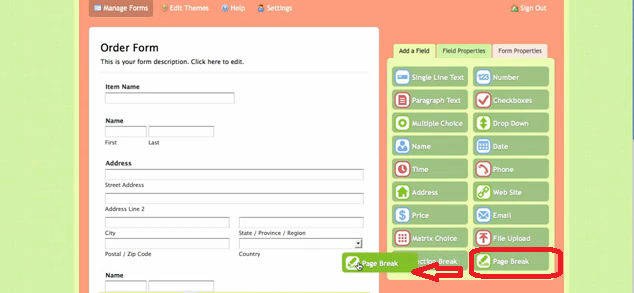
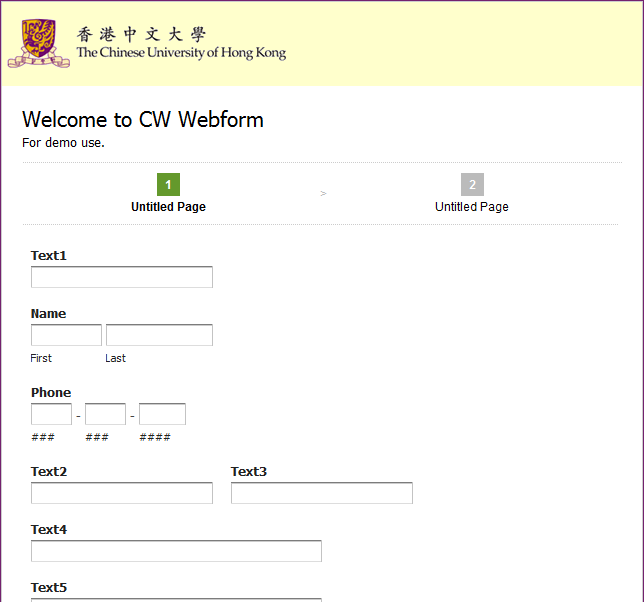
6. Create multi-page form with page-to-page navigation
Just drag a "Page Break" field between some fields to divide your form into pages. A automatic page break is assigned the fields before it to one page and the fields after it to the next page.
Split your forms into multiple pages and display completion progress bars.

You may have a three pages form like this.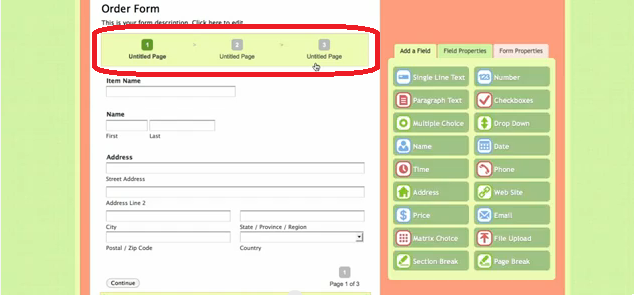
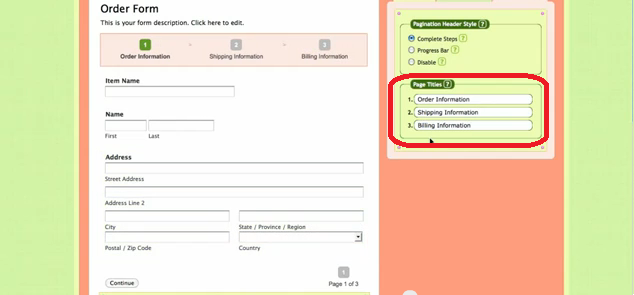
Each page can have its own title.
You can change the type of page navigation to progress bar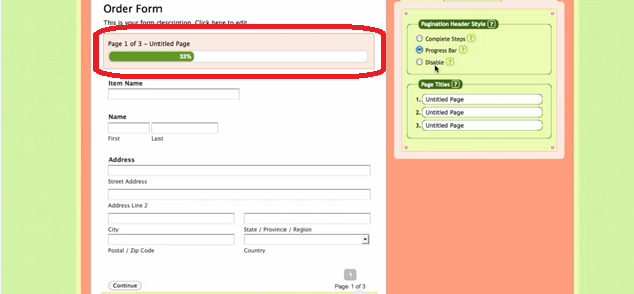
7. Field properties
To bring up the field properties, just click a field on the form preview area. Depending on the field type, the field properties tab will display any applicable setting for that particular field, including the label, rules, formatting, options, and guidelines, etc. You can click on the Help icon next to each option/property to access detailed information regarding the property.
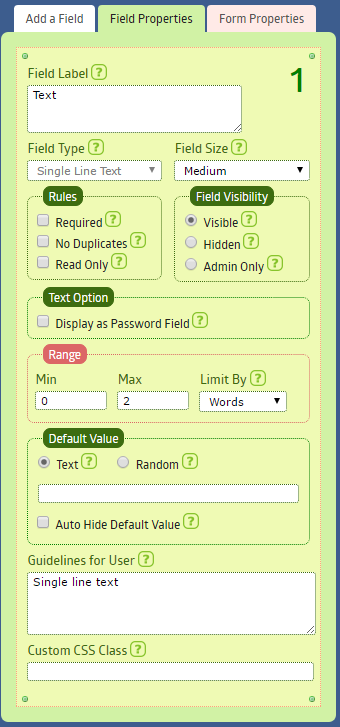
There is a new option Read Only and Hidden in the setting. You can click on the question mark to view the details.
8. Save the form
We can click  button at the bottom of the editing form to save an eForm if you have finished creating it.
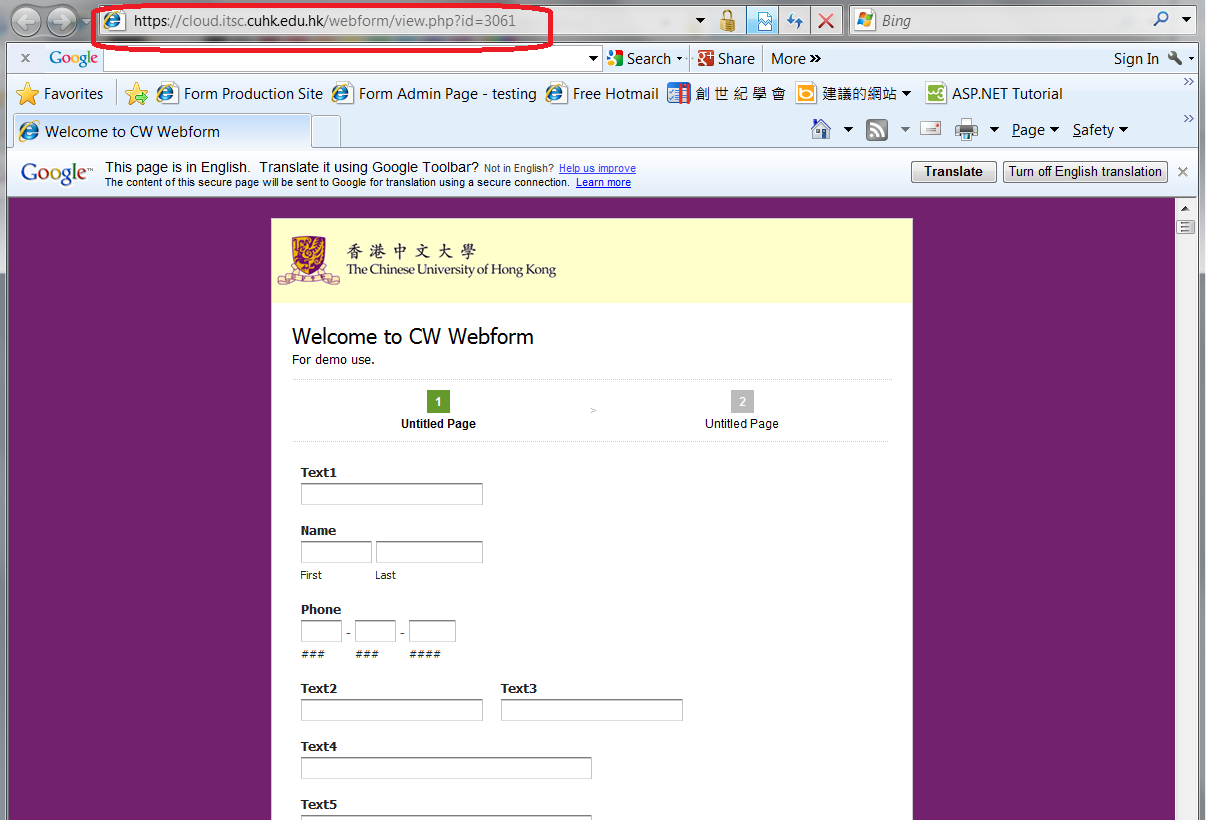
9. View the form
All eForms are listed on the Form Manager page. Select the the eForm and click on the "View" tab to see the final form result and verify it works as you envisioned. If you are not satisfied, You can always go back to make changes to any of the eForm settings and edit a completed form.

10. Direct link to the form
When you've completed your form, you can share the eForm with a link.